High-Risk, High Rewards: Strategies to Earn Big! (Caution: Invest at your own Risk)
Today we will talk about unorthodox methods of earning through the blockchain. We will focus on altcoins, whale activity, popularity…
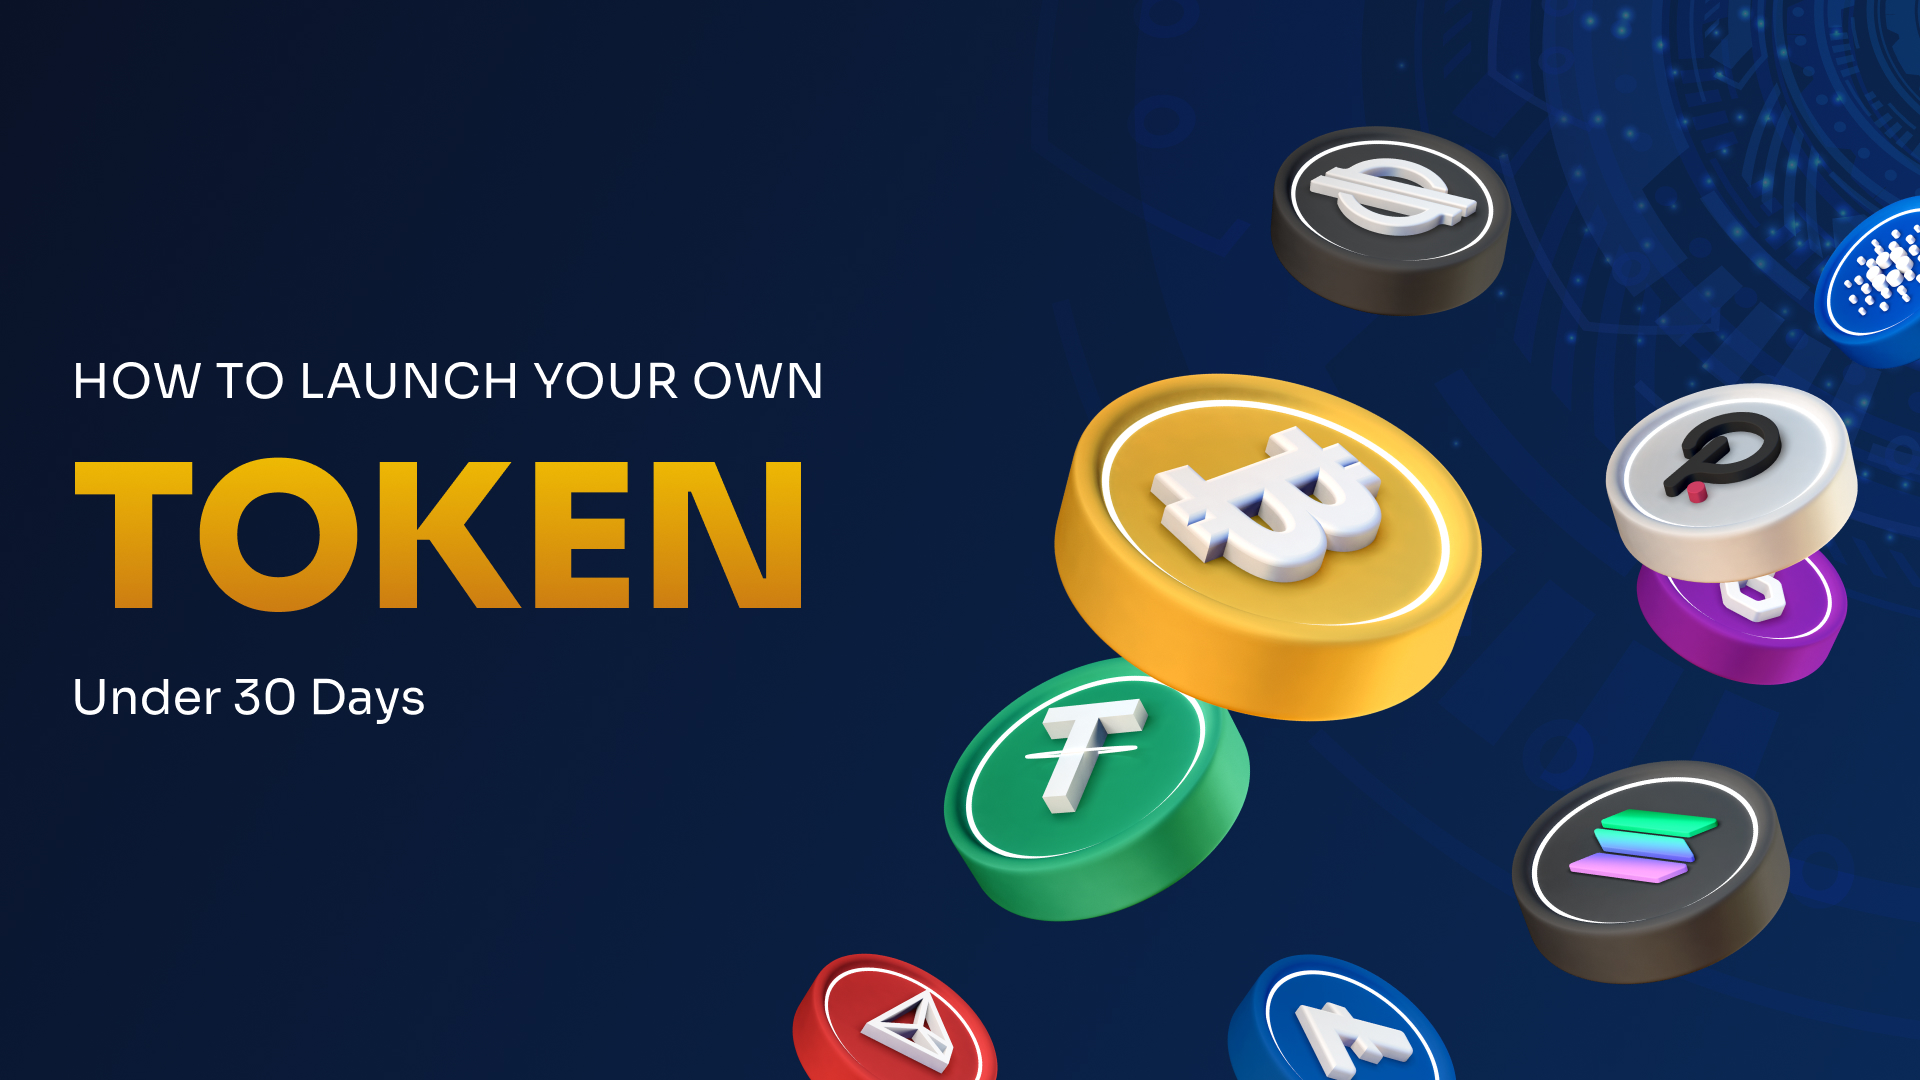
How to Launch Your Own Token Under 30 Days
Bitcoin came, conquered, and then it stayed in our lives as a constant reminder of the power the blockchain holds. After the success of Bitcoin, we saw loads of crypto tokens coming into the market, creating multi-millionaires relatively quickly. Utility for tokens also developed over time and this led to a sustainable business environment where your crypto tokens give you financial freedom and data privacy.
Given the technology that we have today, anyone can create a crypto token with little to no technical expertise and I will tell you 8 steps of how you can do just that.
Step 1: Define Your Token Utility (Days 1-3)
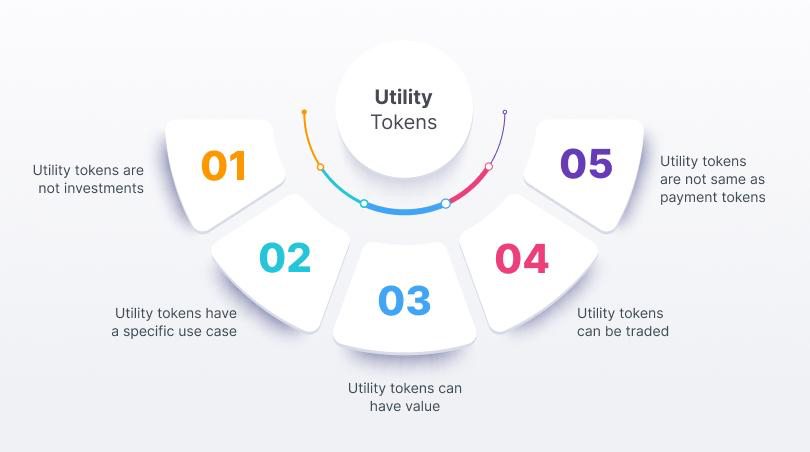
(Just need to show what utility tokens are)
Before we step into the technicalities, we must first define the reason for building a token. So you must ask yourself the following questions:
Step 2: Choosing a Blockchain Platform (Days 4-6)
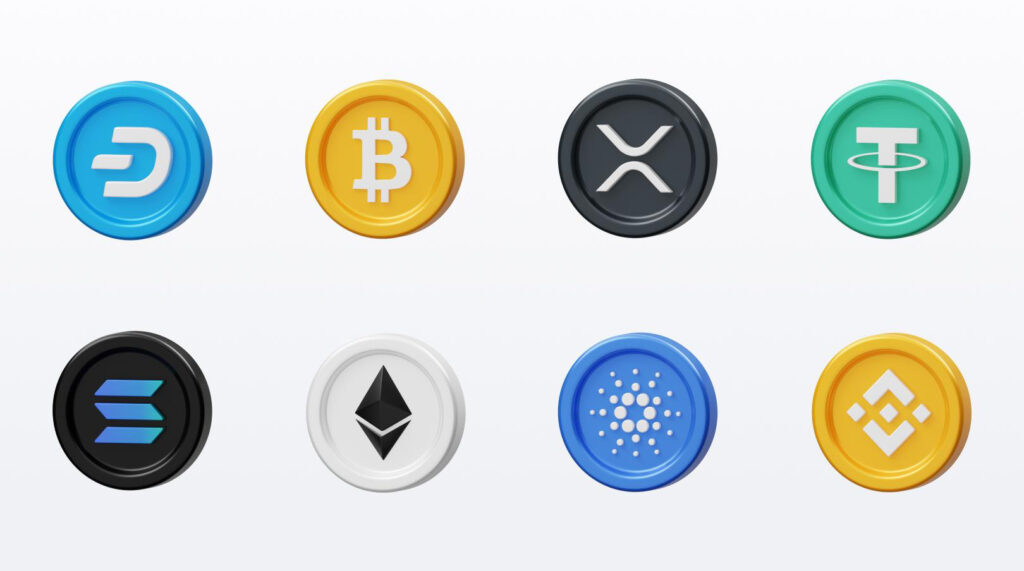
You need to be aware of your needs because there are various Blockchains in the market and each has its unique advantages over others. Here are some popular options:
Ethereum
Hands down the most used Blockchain for tokens and dApps. It offers relative ease of development, a mature ecosystem, and an active developer community.
Binance Smart Chain (BSC)
Another popular option that is known for its faster than Ethereum block times and lower transaction fees.
Solana
Users create crypto games and utility applications on Solana due of its high scalability capabilities. Moreover, it offers low fees and high throughput.
Polygon
Previously known as Matic, Polygon is an Ethereum layer 2 scaling solution that offers quick transactions and low fees. Those who are expecting high volumes of users should consider this to avoid network congestion.
Step 3: Token Standards (Days 7-8)

Tokens usually have a strict standard of development to ensure that it is compatible with certain wallets, exchanges, dApps, and more. Here are some common standards:
● ERC-20: The most widely used standard for fungible tokens on Ethereum. ● ERC-721: Standard for non-fungible tokens (NFTs) on Ethereum.
● BEP-20: Similar to ERC-20 but for Binance Smart Chain.
● SPL: Token standard for Solana.
Choose your standard based on your business model utilities.
Step 4: Smart Contract Development (Days 9-13)
Now that you have the basics of your token down, it is time we move towards developing a smart contract to govern it. If you have the technical skills, you can do it yourself with tools like OpenZeppelin or you can hire a blockchain development company.
This is what an ERC-20 token contract looks like:
pragma solidity ^0.8.0; import “@openzeppelin/contracts/token/ERC20/ERC20.sol”; contract MyToken is ERC20 { constructor(uint256 initialSupply) ERC20(“MyToken”, “MTK”) { _mint(msg.sender, initialSupply); } }
You can use this code to create your own token with its supply.
Step 5: Testing the Smart Contract (Day 14-16)

(Name some tools that help test smart contracts)
You can use a test network tool like Ropsten (Ethereum) or testnet (BSC) to deploy your contract. Tools like Truffle and Remix IDE can help you test it. Testing is crucial, if your smart contract has problems in execution, your entire business model could collapse.
Step 6: Mainnet Deployment (Days 17-18)
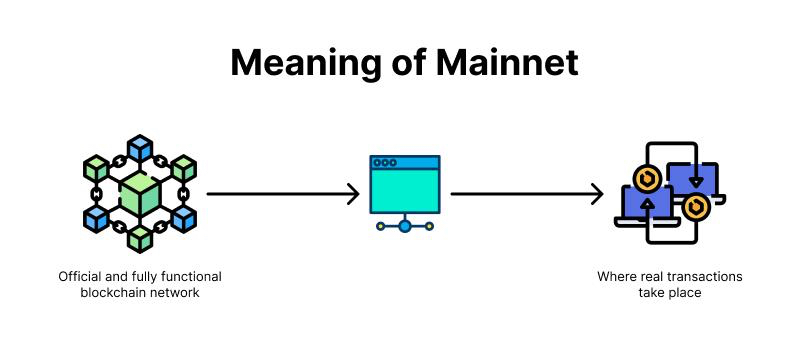
Once your smart contract is tried and tested, it is time to deploy it on the Mainnet. You will need to pay a gas fee to deploy it, so use a wallet like MetaMask during this stage.
Step 7: Token Verification on Blockchain Explorer (Days 19-20)
(Use Logos of BscScan & EtherScan)
Although your token can be used without verification, you require it to create trust between your users. You do this by submitting your contract source code and metadata on blockchain
explorers like BscScan or Etherscan. This allows users to see detailed information about your token.
Step 8: Create Whitepaper & Website (Days 21-25)
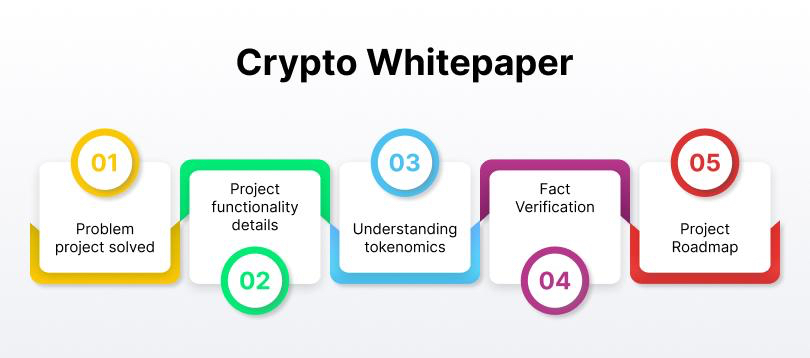
A comprehensive whitepaper and professional website are crucial to presenting your token to potential investors and users. Your whitepaper should include:
Step 9: Marketing (Days 26-28)

Though marketing is a constant process. You can start by:
Collaborate with influencers Step 10: Launch (Days 29-30)


Congratulations, you can now launch your token and start monitoring its performance. Here you engage with the community and make adjustments based on user preferences because your community is your bank here.
Final Thoughts
Launching your token within 30 days or less is very much achievable. By following this guide and carefully planning, you can bring your concept into reality. It is important to remember that ensuring the success of your token is a continuous ongoing process. Think of it like a plant, the more you nurture it, the more it grows. Good Luck! Reach out if you need help in developing your very own Tokens.
Today we will talk about unorthodox methods of earning through the blockchain. We will focus on altcoins, whale activity, popularity…

The future is being redefined as we speak. Web3 is paving the way to realizing the true potential of the…

Countries like the USA, China, and the UK have been blockchain technology hubs since the inception of this technology. However,…


